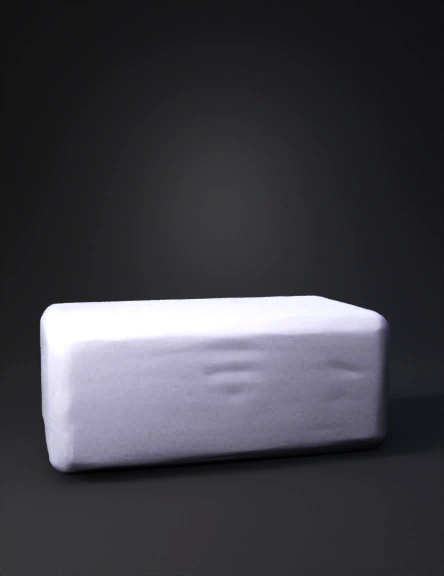
Wooden Block 3D Model
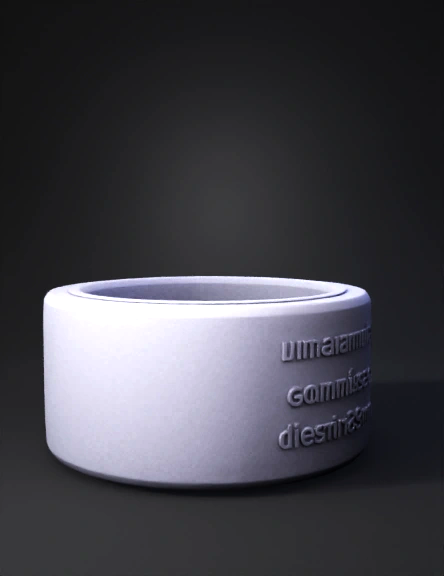
Arruela 3D Model

Arruela 3D Model
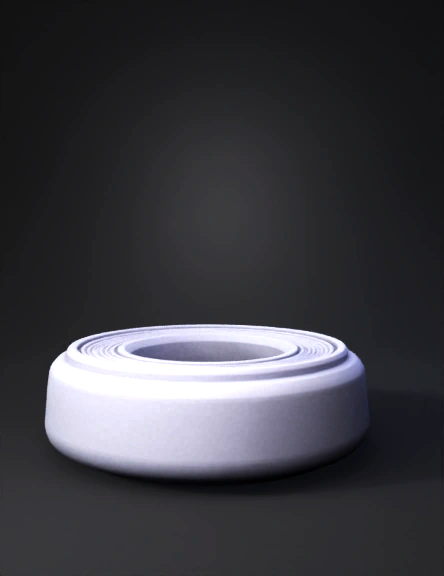
Arruela 3d Modelo 3D Model
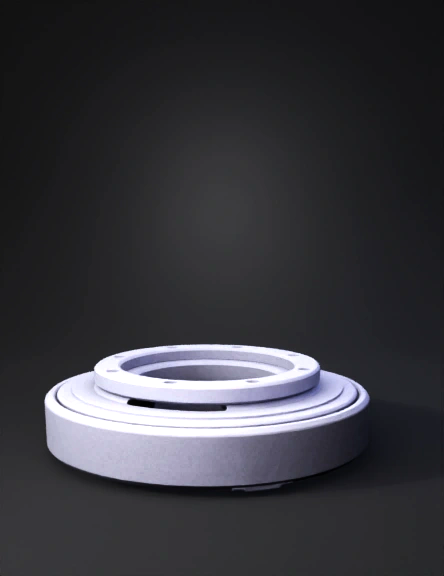
Anel De Rolamento 3D Model
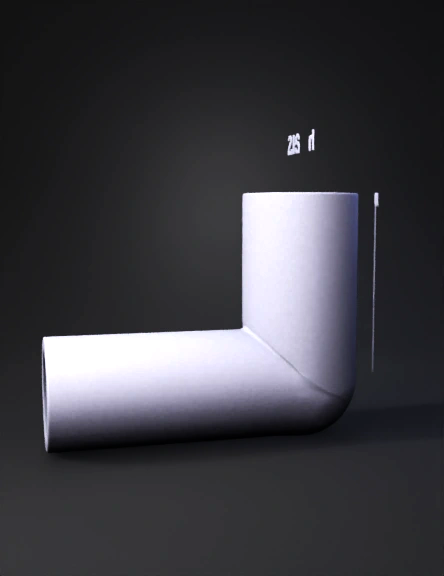
Elbow Pipe Joint 3D Model
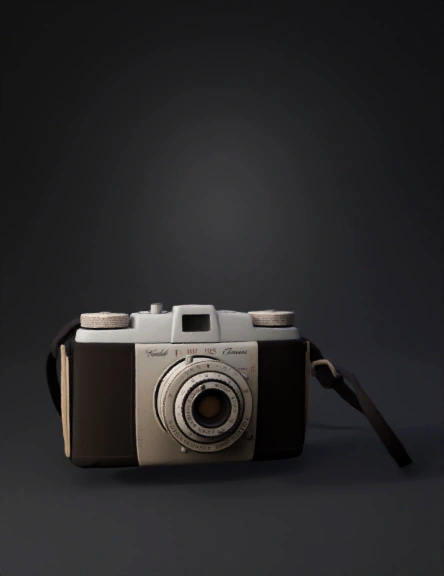
Vintage Camera 3D Model
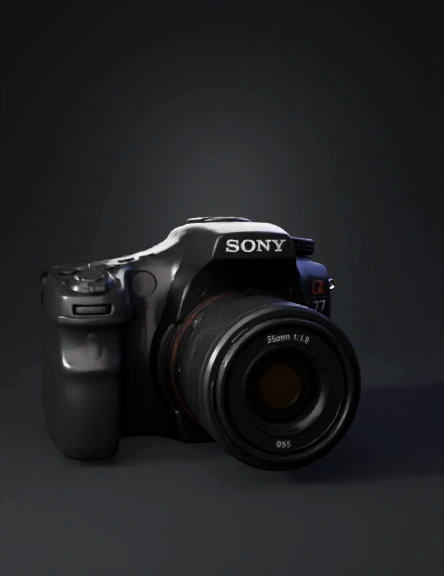
Camera 3D Model
Classic Camera 3D Model
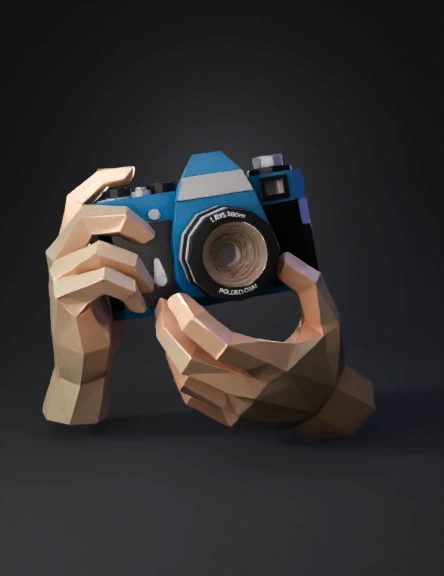
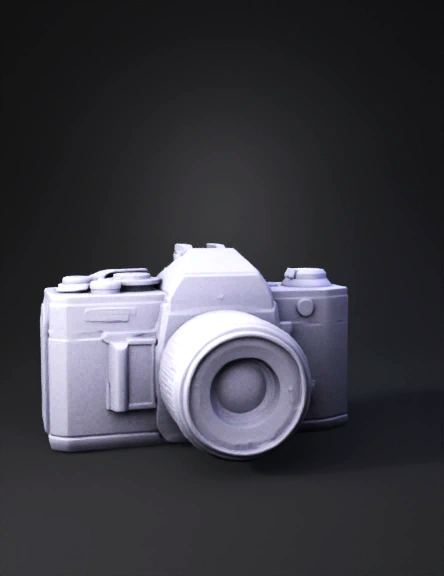
Camera 3D Model
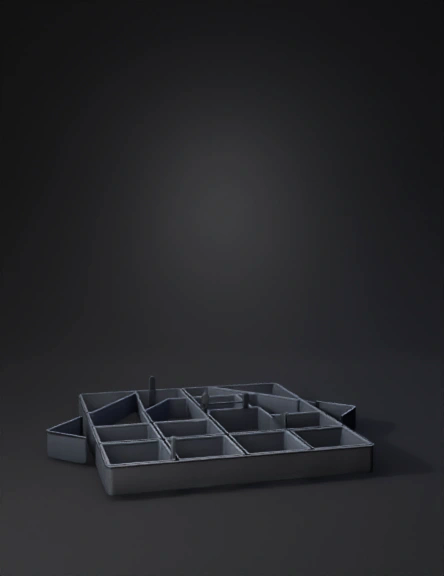
Divider Tray Insert 3D Model
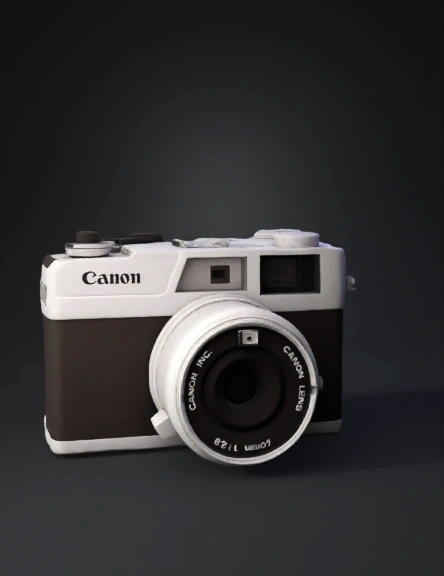
Canon Camera 3D Model
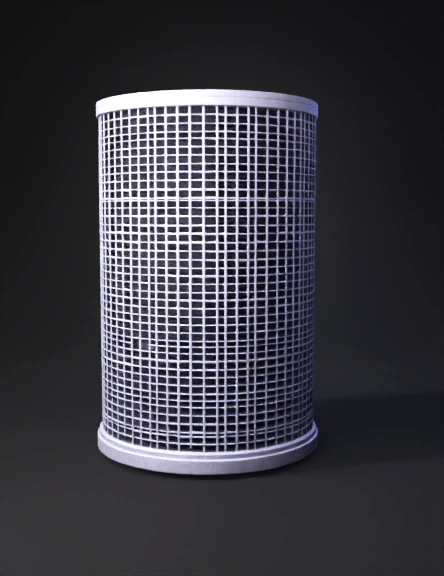
Lattice Cylinder 3D Model
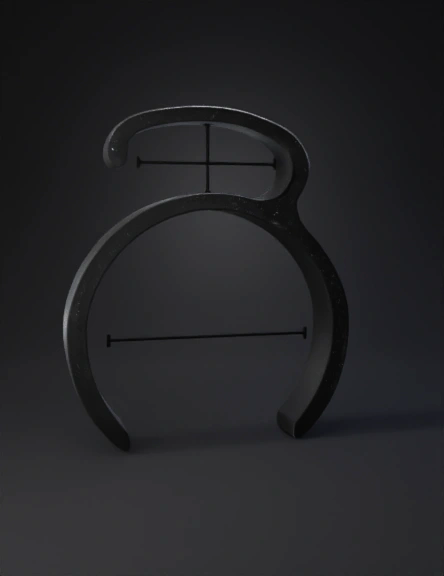
Ring Clamp 3D Model
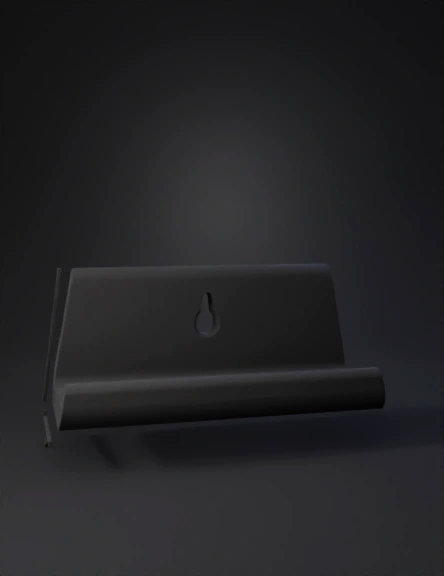
3d Bracket Model 3D Model
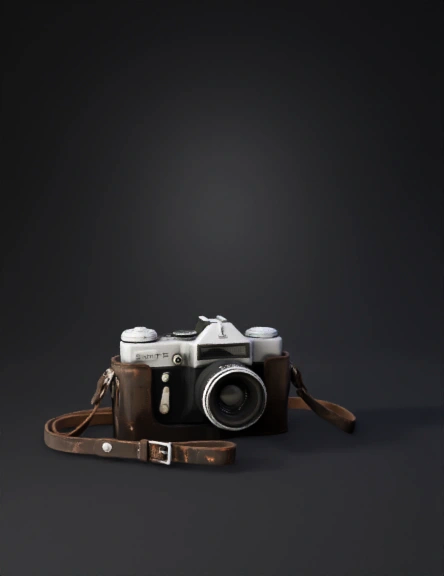
Vintage Camera 3D Model
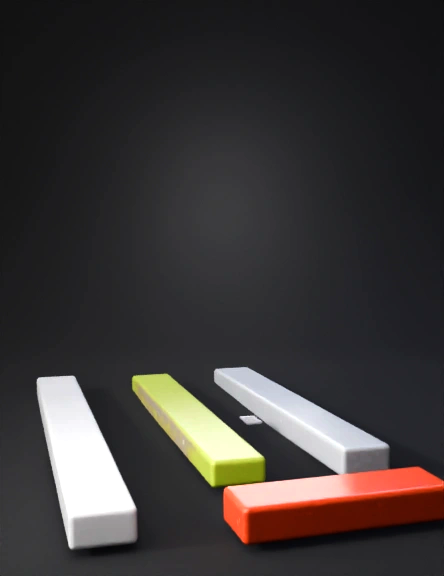
Barra Rectangular 3D Model
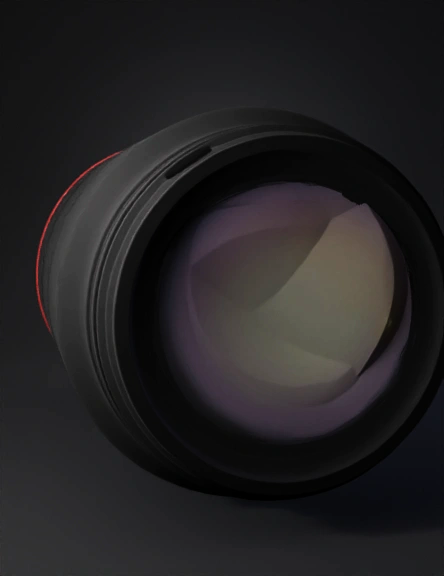
Canon Lens 3D Model