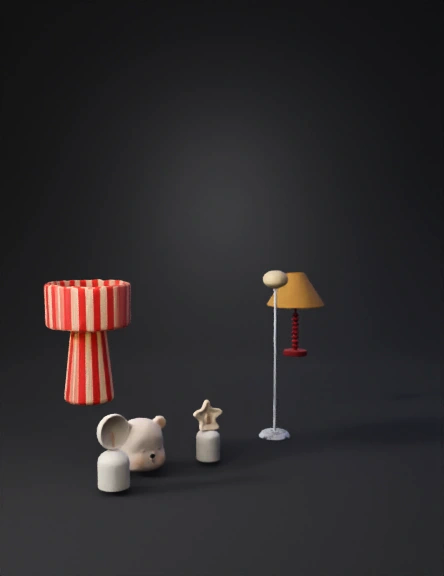
Stylish Lamp 3D Model
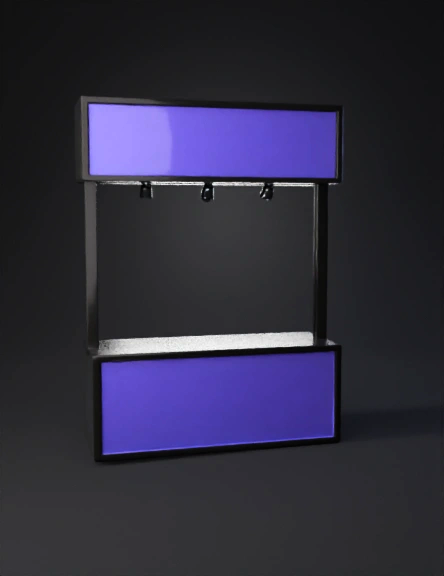
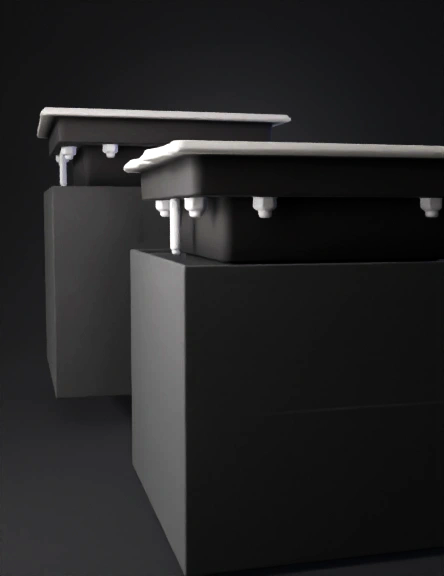
Purple Display Stand 3D Model
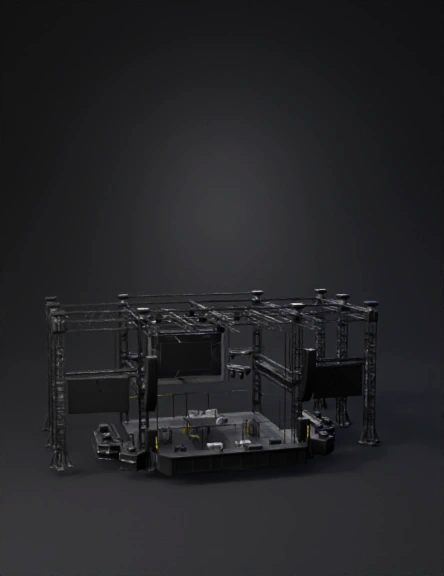
Stage Rigging 3D Model
Stage Rigging 3D Model
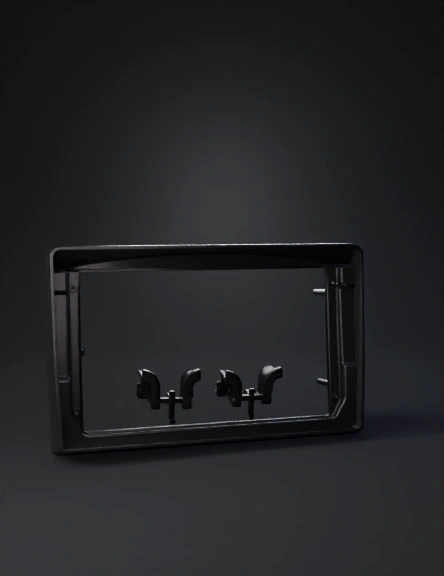
Rectangular Frame 3D Model
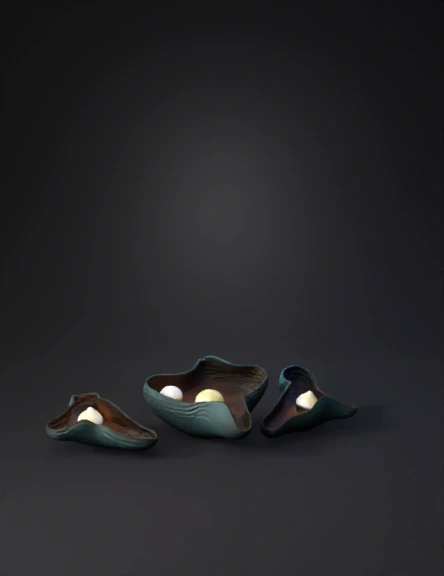
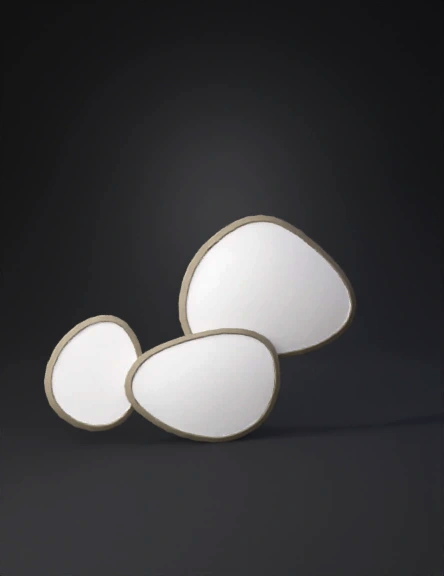
Starfish Wall Lamp 3D Model
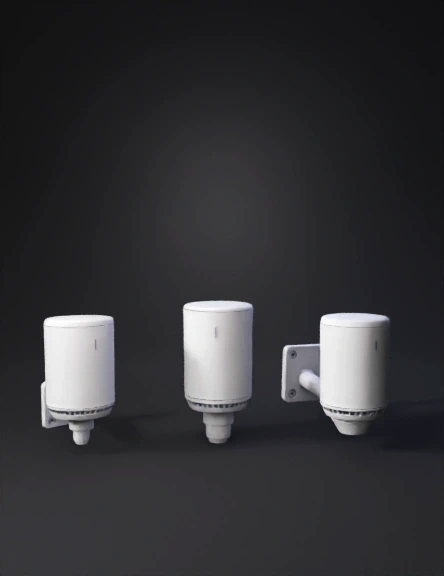
Outdoor Wall Light 3D Model
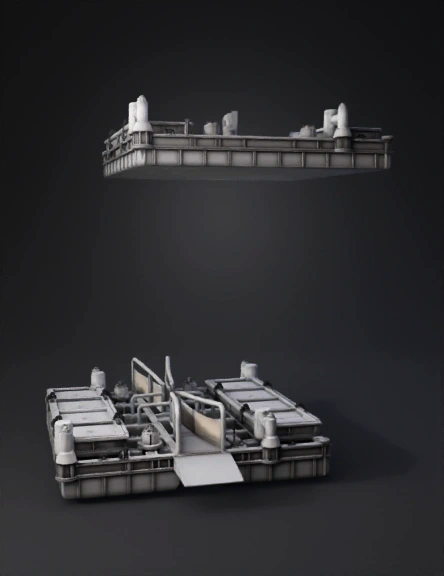
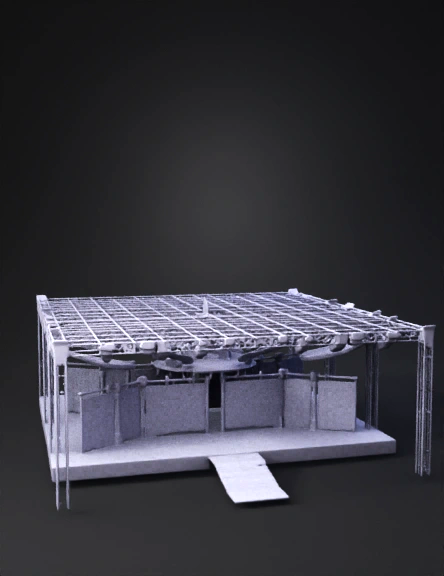
Industrial Platform 3D Model
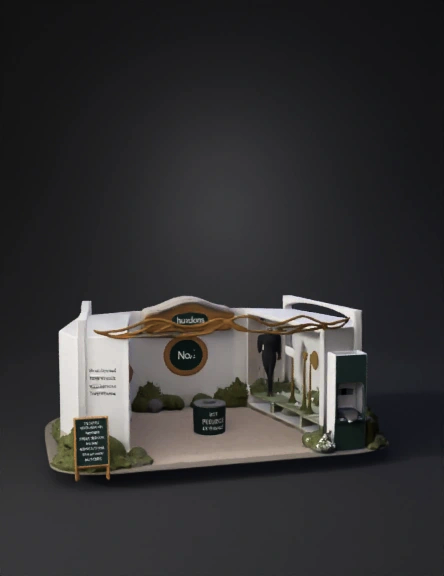
Exhibition Booth 3D Model
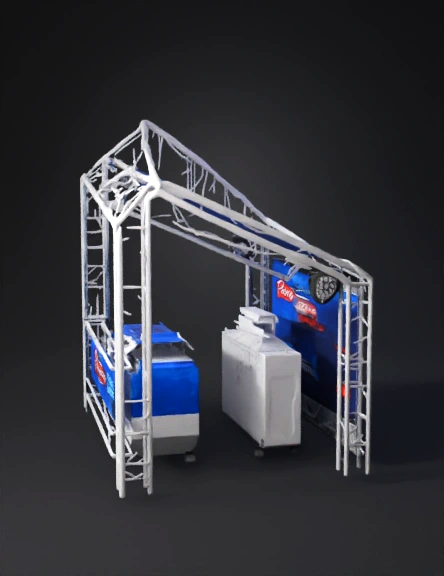
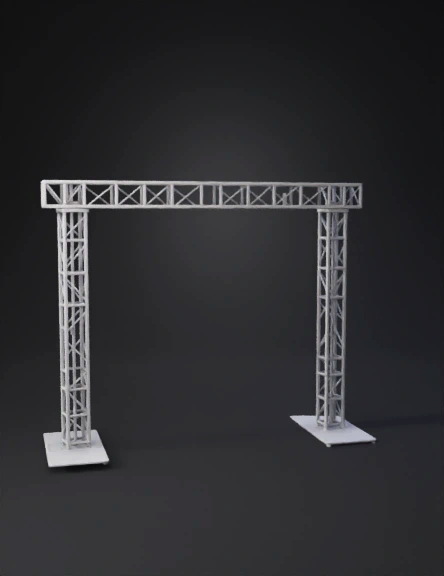
Stage Truss System 3D Model
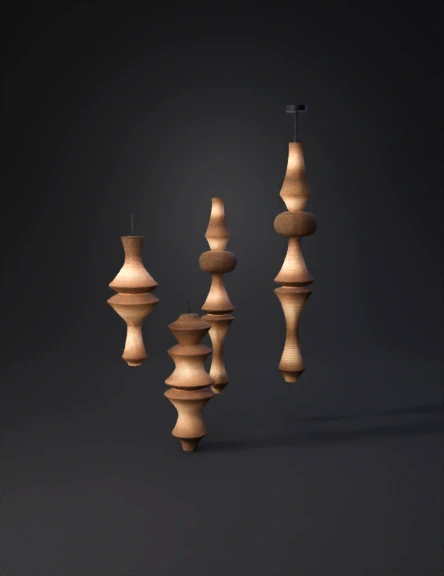
Wooden Pendant Light 3D Model
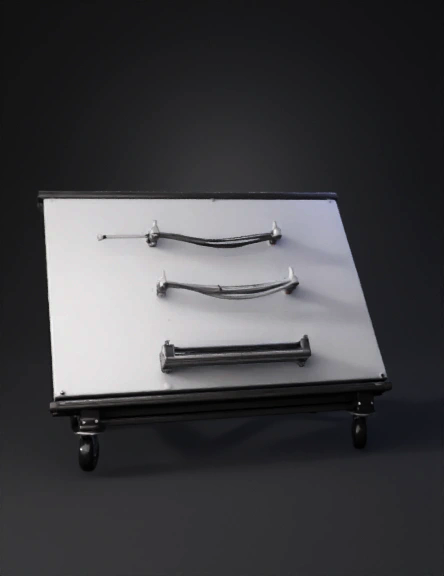
Painel De Montagem 3d 3D Model
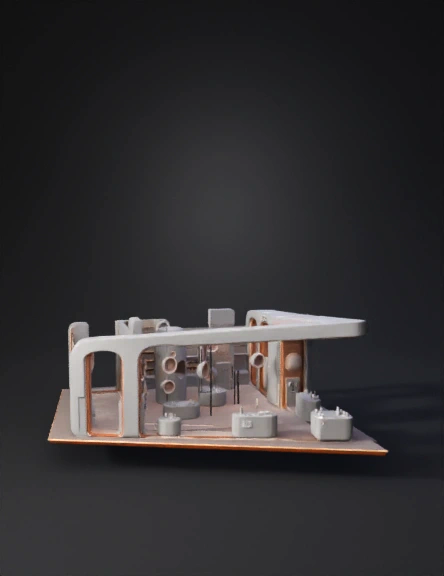
Futuristic Exhibition Booth 3D Model
Square Recessed Light 3D Model
Portique Aluminium 3d Modele 3D Model
Stage Lighting Rig 3D Model
Ceiling Light Fixture 3D Model
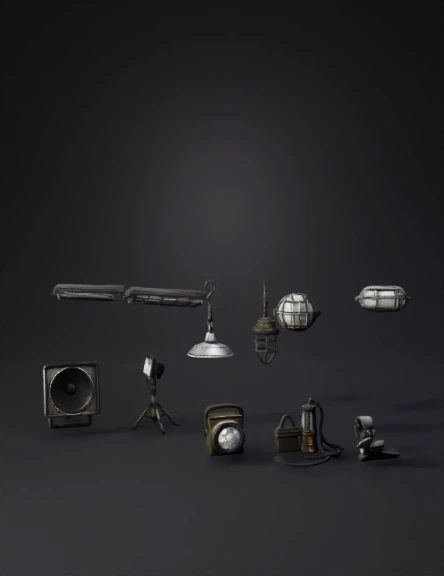
Lighting Fixtures 3D Model