
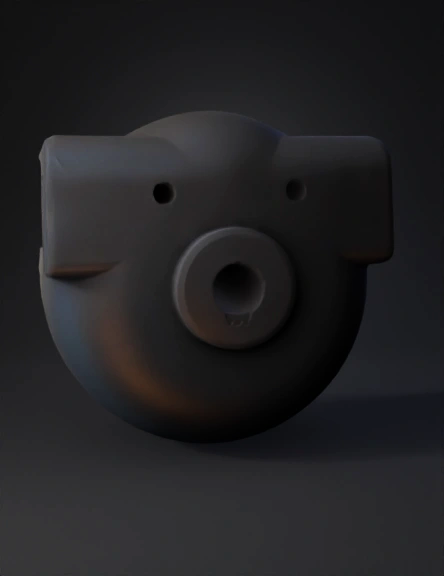
Plastic Wheel Hub 3D Model
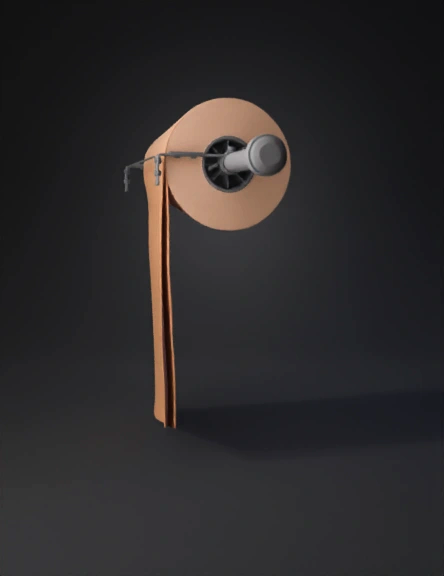
Kraft Paper Roll 3D Model
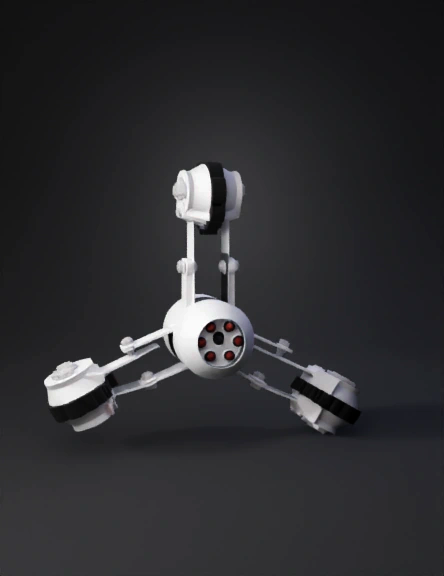
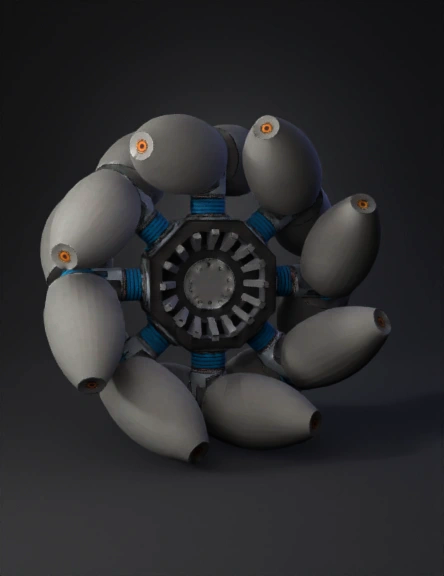
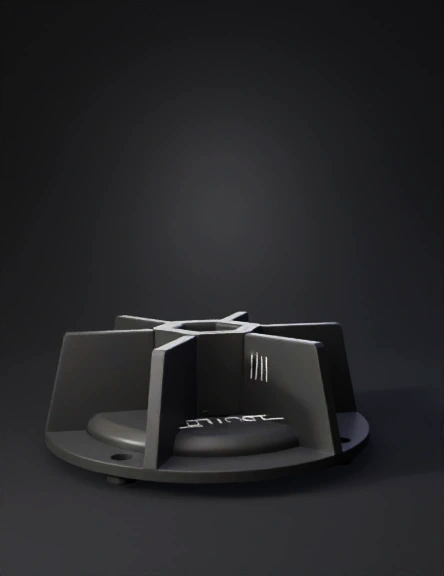
Four-armed Robotic Hub 3D Model
Of Circular Plastic Mount 3D Model
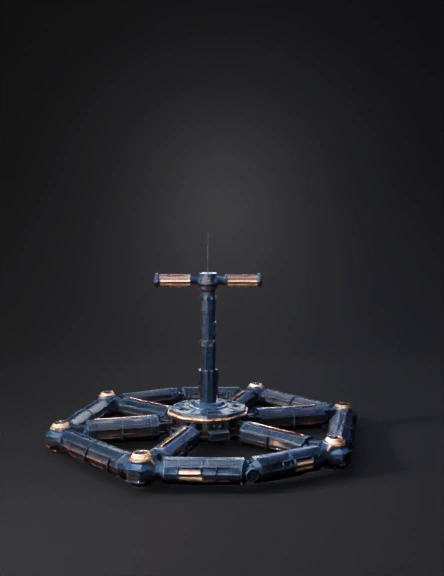
Space Station Hub 3D Model
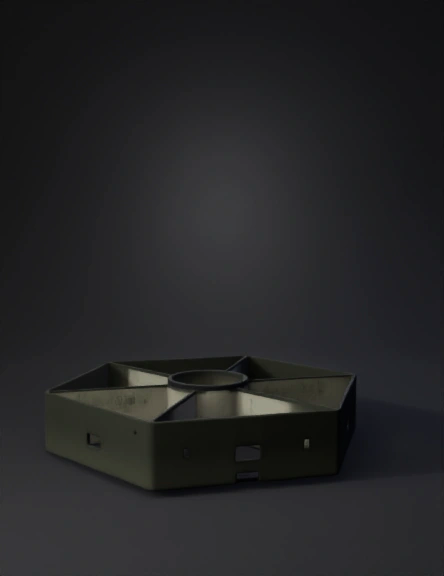
Hexagonal Base 3D Model
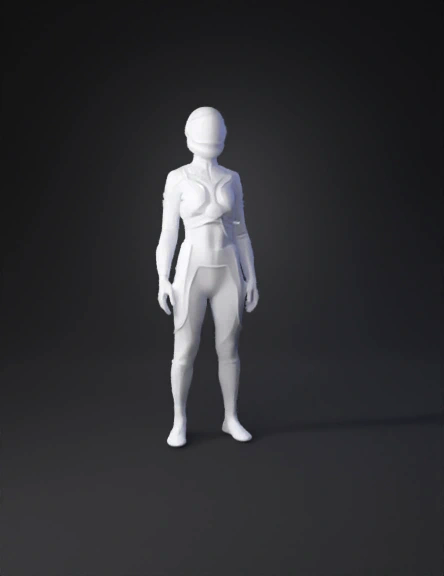
Futuristic Exosuit 3D Model
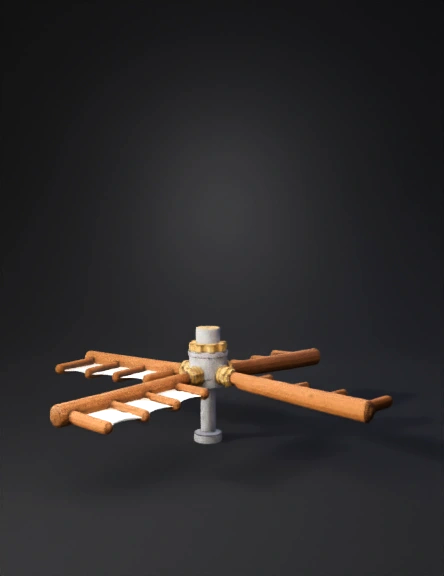
Satellite 3D Model
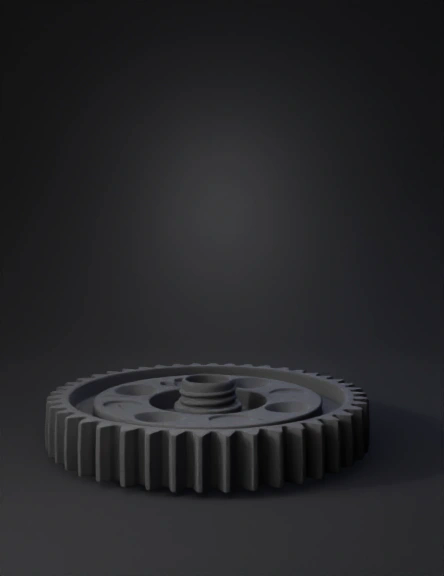
Gear 3D Model

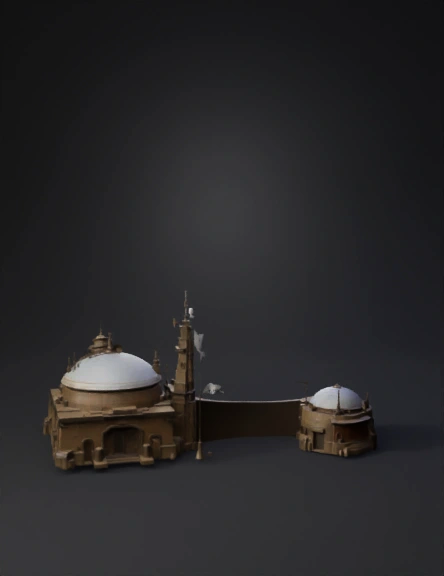
Building Complex 3D Model
Futuristic Base 3D Model
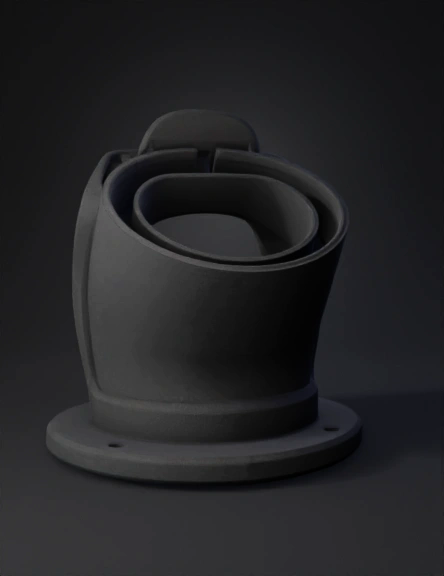
Black Plastic 3D Model
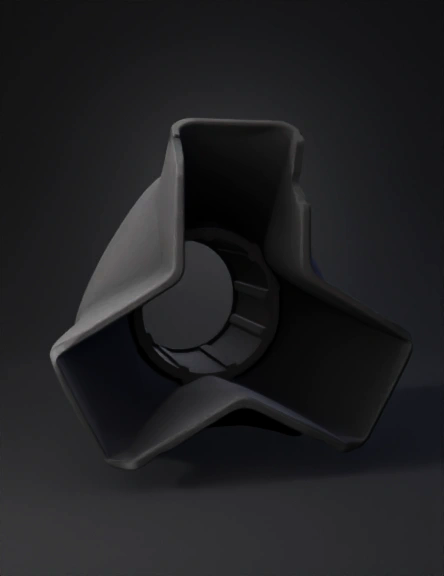
Tri-wing Hub 3D Model
Rotating Wheel Module 3D Model
Pieza Mecánica 3d 3D Model
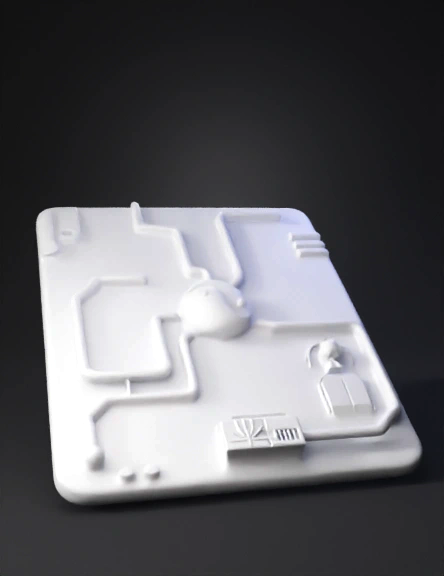
Circuit Board Tile 3D Model
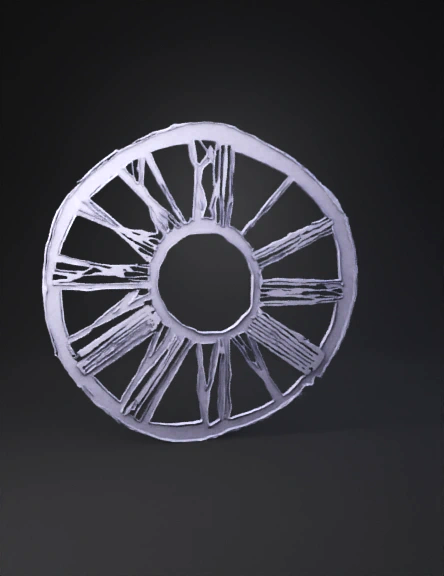
Spoked Wheel 3D Model