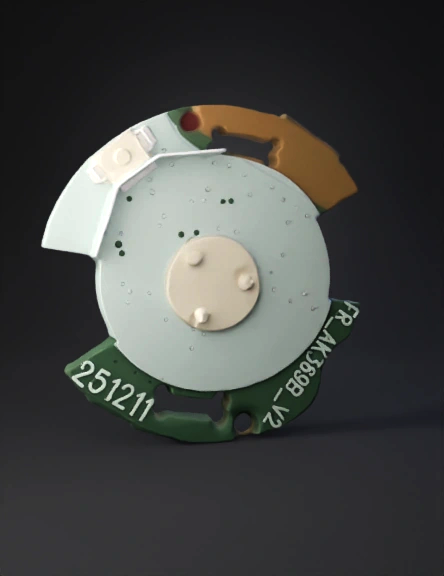
Tiny Circular Pcb Component 3D Model
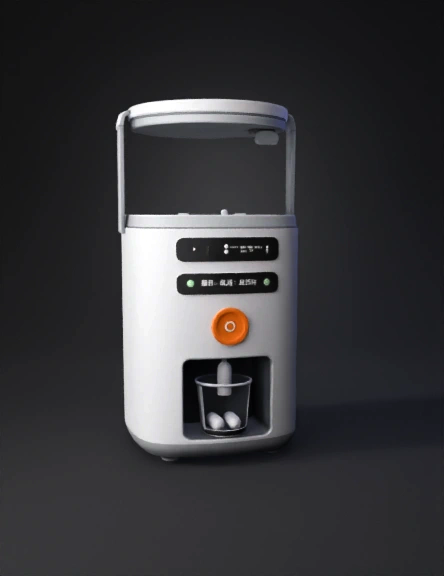
Smart Pill Dispenser 3D Model
Electrical Panel 3D Model

Chip 3D Model
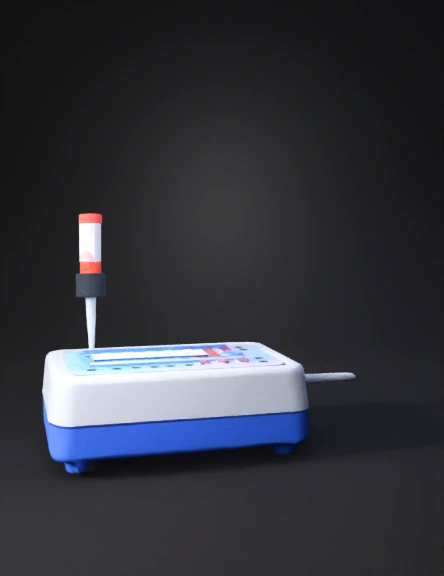
微流控芯片3d模型 3D Model
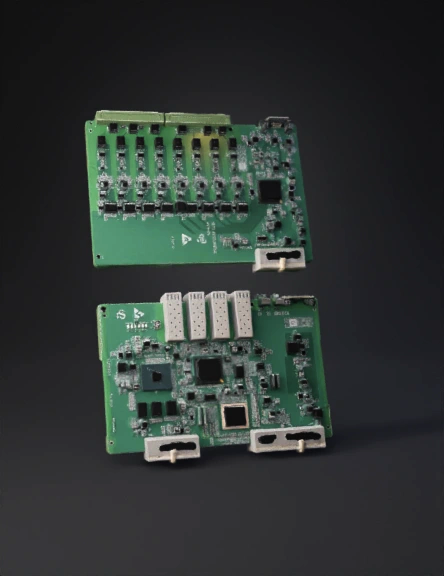
Printed Circuit Board 3D Model
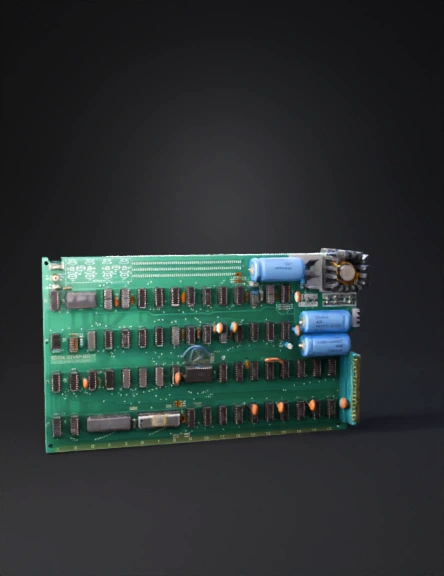
Vintage Computer Motherboard 3D Model
Industrial Electrical Panel 3D Model
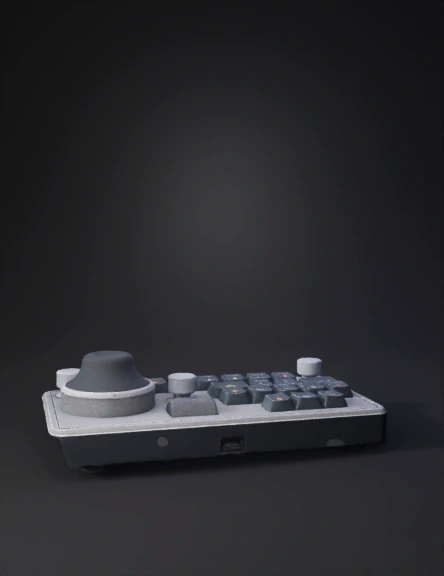
Midi Controller 3D Model
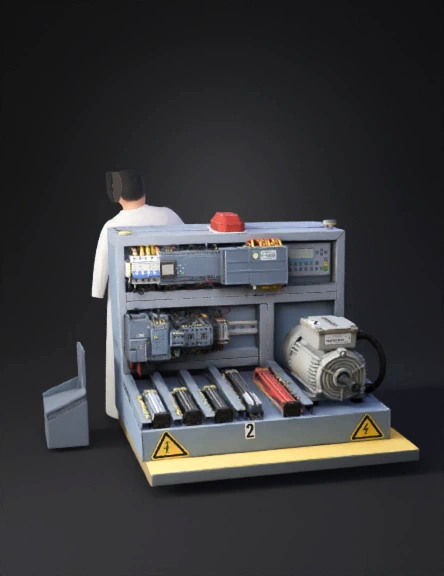
Industrial Equipment 3D Model
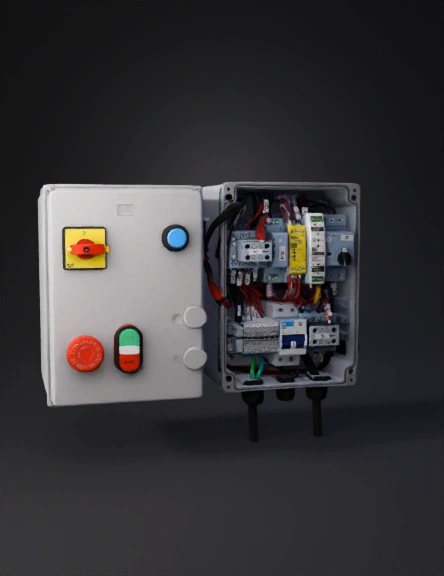
Industrial Control Panel 3D Model
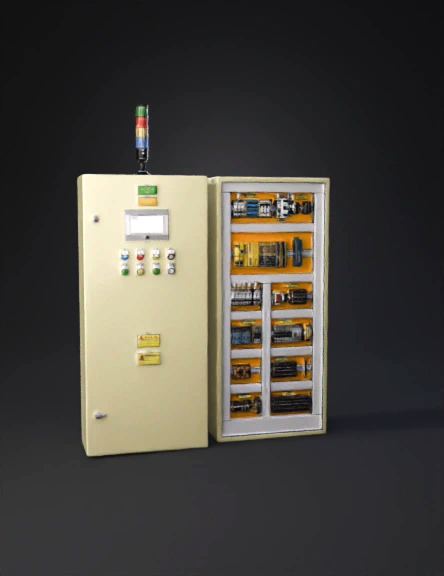
Industrial Electrical Panel 3D Model
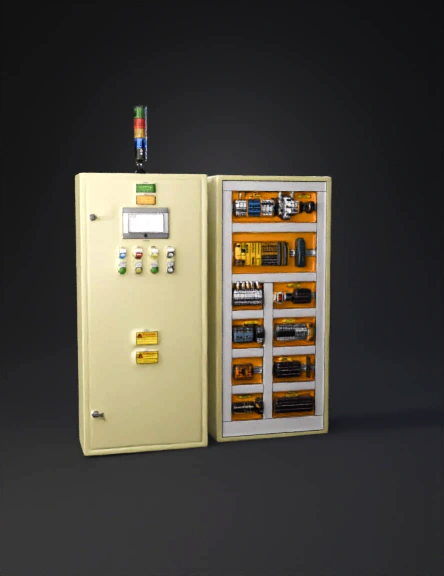
Industrial Control Panel 3D Model

Industrial Control Panel 3D Model
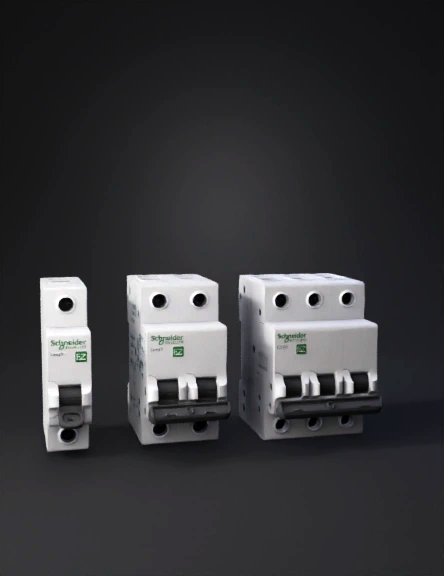
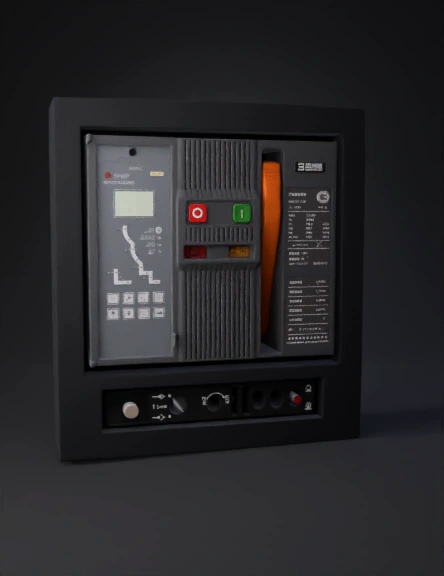
Circuit Breaker 3D Model
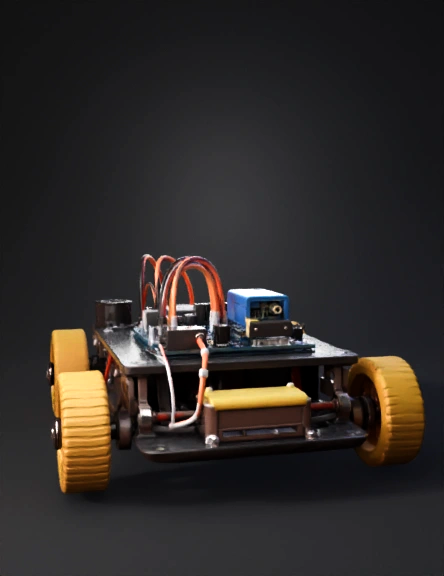
Robotics Car 3D Model
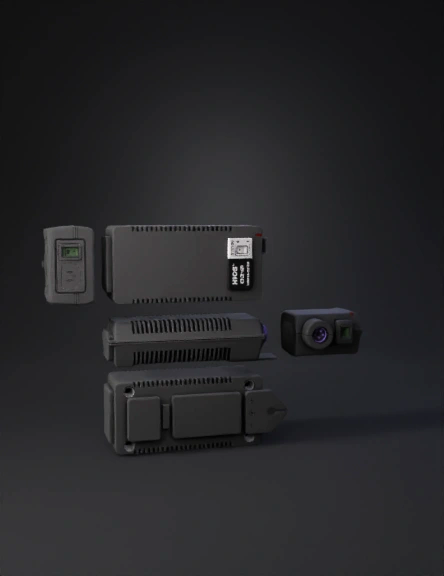
Electronics Module 3D Model
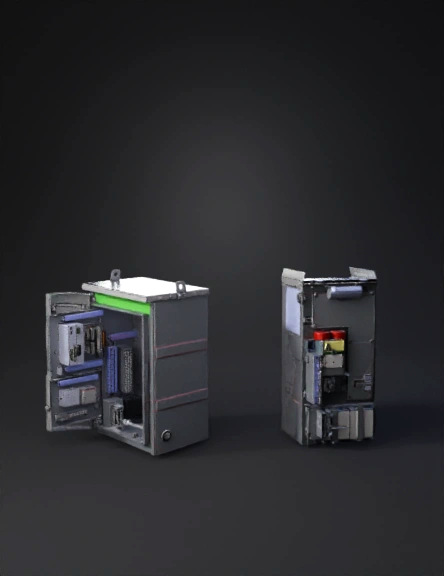
Industrial Electronics Enclosure 3D Model