3D Workspace
Home
Assets
Affiliate Program
Creator Program
Sign up/Log in
View Plans
DCC Bridge
pandey.api2k
12-28 19:09
Model Name
industrial blower 3d model
Tags
air filter
airtight
machine
machine realistic
machine rendering
machine rendering realistic
realistic
rendering
rendering realistic
Prompt
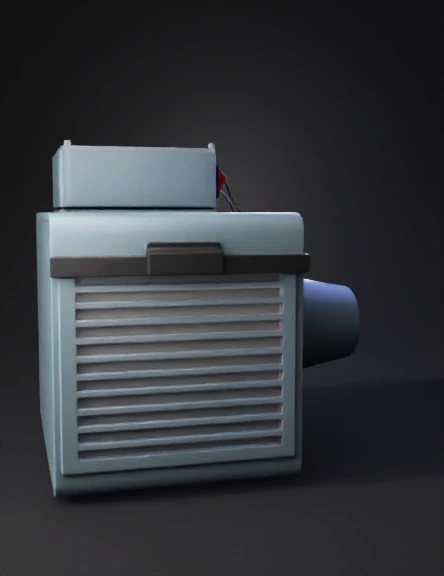
🔍 Key Design Considerations Requirement Design Approach Airtight HEPA seal Use a compressed gasket (foam tape) sandwiched between a printed filter holder and the main enclosure. Airflow path Intake → Pre-filter → HEPA → Exhaust fan. Use a sealed chamber to force all air through the filters. Raspberry Pi & sensor external Mount them on a separate, swappable tray outside the airflow path, with passthroughs for wiring. On/off switch & wiring Include a recess for a toggle switch and channels for cables to keep the interior clean. Cheap build Use 3D-printed PLA/PETG parts, off-the-shelf fans, and common hardware. Design for modular printing to save material. 📐 Component Dimensions (Verified) Component Dimensions (L×W×H) Source Exhaust fan box 275 mm × 170 mm × 275 mm Result 0 shows a commercial exhaust fan with these box dimensions. Pre-filter sheet 100 cm × 10 cm (can be cut) User-provided. HEPA filter 400 mm × 200 mm × 30 mm User-provided (40 cm × 20 cm × 3 cm). Raspberry Pi 4 Model B ≈85.6 mm × 56 mm × 21 mm Official dimensions cited as 85.60 mm × 56 mm × 21 mm. AQI sensor (SDS011) ≈71 mm × 70 mm × 23 mm SDS011 spec shows 71 × 70 × 23 mm. 120 mm PC fan (example) 120 mm × 120 mm × 25 mm Common size for high-static-pressure fans. Note: The exhaust fan box dimensions likely represent the outer casing of a 150 mm exhaust fan. The actual fan can be a standard 120 mm or 140 mm PC fan, mounted inside a printed shroud that fits the 275 × 170 × 275 mm envelope. 🖥️ Blender Modeling Steps (Overview) 1. Main Enclosure Create a box with internal dimensions slightly larger than the HEPA filter (e.g., 410 mm × 210 mm × 150 mm). This will house the filter and provide space for the pre-filter layer. Add a front intake grille with slots for the pre-filter. The grille should have a recess to hold the pre-filter sheet (cut to size) and a removable clip-on cover. On the rear side, create a circular opening for the exhaust fan (120 mm or 140 mm). Model a fan shroud that mates with the opening and extends to the outside, fitting within the 275 × 170 × 275 mm envelope. 2. Filter Holder & Sealing Design a HEPA filter tray that slides into the main enclosure. The tray should have a peripheral groove for a 3 mm-thick foam gasket. When the tray is inserted and secured with screws, the gasket compresses against the HEPA filter, creating an airtight seal. The pre-filter can be attached to the intake grille using Velcro strips or a simple clip-on frame. 3. Electronics Compartment Model a separate side box (or top box) that holds the Raspberry Pi and SDS011 sensor. This compartment should be outside the airflow path to prevent dust accumulation on the electronics. Include a slide-out tray for the Raspberry Pi and a mounting bracket for the sensor. Provide cut‑outs for GPIO cables, USB, and power. Add a recess for a toggle switch on the outside of the compartment. 4. Airflow Management Ensure the intake grille covers the entire front area. The pre-filter should be the first layer, followed by the HEPA filter, and then the exhaust fan. Model internal baffles (if needed) to direct air through the filters and prevent bypass. The exhaust fan shroud should have a duct shape to guide air outward. Use a standard 120 mm PC fan (high static pressure) attached to the shroud with screws. 5. Assembly Features Design alignment pins and screw bosses for all major parts. Include cable channels along the sides of the enclosure to route wires from the electronics compartment to the fan. Provide ventilation holes in the electronics compartment to prevent overheating. 6. Printability & Cost Savings Split large parts (e.g., main enclosure) into printable sections that join with dowels and screws. Use infill sparingly (15‑20%) for non‑structural parts. Avoid support material where possible by orienting parts correctly during printin KEEP THE PARTS TO MINIMUM, with least possible details until necessary.
Detailed Info
Related Models
Enter invite code
Enter invite code to get credits!