3D Workspace
Home
Assets
Affiliate Program
Creator Program
Sign up/Log in
View Plans
DCC Bridge
rahatsani2548889
12-02 04:07
Model Name
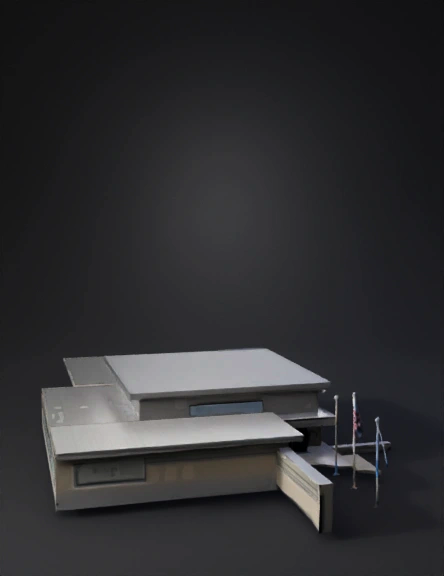
police station 3d model
Tags
architecture
architecture realistic
architecture rendering
architecture rendering realistic
police station
realistic
rendering
rendering realistic
Input
Prompt
1. Block Out the Main Volumes (Start Simple) This building is composed of very clear, rectangular masses: Main long rectangle for the wing on the left. Central entrance volume (taller, with metal cladding). Right-side rectangle for the wing that extends toward the parking lot. Start with basic boxes that roughly match these proportions. Don’t worry about windows or small details yet. 2. Add Roof Shapes The roofs are mostly: Flat roofs with slight overhangs. The central volume has a raised, floating-roof look with metal fascia. Model the roof slabs as separate objects with: Overhangs. Slight thickness so they look architectural. 3. Add Wall Detail Once the blockout feels correct: Apply the brick/stone façade pattern using a texture or simple geometry outlines. Use edge loops or materials to differentiate between: Stone cladding on the front. Smooth metal panels on the central volume. Light tan brick on the side wings. 4. Model Openings and Windows Use references from the image: Long horizontal strip windows on the wings. A glass double-door entrance. Window mullions (keep them simple unless you need high detail). Cut openings first, then insert window objects. 5. Add Architectural Features These are distinctive and easy to model: Metal awnings / shades above the side windows. Thin pillars supporting them. Flagpoles (cylinders with small detail on top). Signage text (“SOUTH STATION” and badge area). Signage can be: 3D text (if close-up). A texture decal (if viewed from afar). 6. Ground Plane + Landscaping Add: Sidewalk slabs and ADA-compliant ramps. Parking lot with painted lines. Planter boxes and low shrubs. Mulch and grass textures. Low bollards near the entry. Keep vegetation low_poly unless you’re doing a hero render. 7. Materials & Texturing Use PBR materials for: Concrete Metal panels Stone veneer Asphalt Glass Keep UVs clean—most surfaces are rectangular and easy to map. 8. Lighting A simple sun-and-sky setup works: Midday sun to match the photo’s lighting. Slightly cool skylight to balance warm ground reflections. 9. Optional High-Detail Items If needed: Parking lot signs Security cameras Door handles Window trim Gutter details These aren’t necessary unless for close-up realism.
Detailed Info
Related Models
Enter invite code
Enter invite code to get credits!
 rahatsani2548889


 rahatsani2548889