3D Workspace
Home
Assets
Affiliate Program
Creator Program
Sign up/Log in
?
Upgrade
DCC Bridge
Anonymous1780311557
06-01 11:01
Model Name
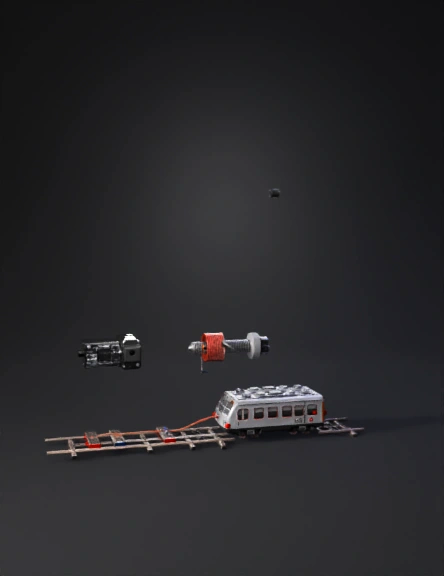
magnetic levitation train 3d model
Tags
vehicle
rendering
realistic
Prompt
Create a professional A1-size STEM engineering infographic titled "Arduino Controlled Magnetic Levitation Train (Class 12 Physics Project)". Show a complete step-by-step build guide with clean white background, realistic electronics, color-coded wiring, large readable labels, arrows, dimensions, and beginner-friendly explanations. Include: Step 1: Parts list with Arduino Uno, GP2Y0A21 IR sensor, ACS712 current sensor, 3 Hall sensors, L298N motor driver, speed encoder, 12V 5A adapter, N52 neodymium magnets, copper wire, PVC track. Step 2: Electromagnet construction showing iron bolt core wrapped with 600 turns copper wire. Step 3: Full Arduino wiring diagram: IR Sensor → A0 ACS712 → A1 Hall Sensors → D2, D3, D4 L298N ENA → D5 (PWM) IN1 → D6 IN2 → D7 Encoder → D8 Error LED → D13 Wire colors: Red = +5V Black = GND Yellow = Signal Blue = PWM Step 4: Side view showing train levitating 1.5–2 cm above track using electromagnets and N52 magnets. Clearly label N and S poles, magnetic re
Detailed Info
Related Models
Enter invite code
Enter invite code to get credits!