3D Workspace
Home
Assets
Affiliate Program
Creator Program
Sign up/Log in
View Plans
DCC Bridge
Anonymous1773306955
03-12 10:16
Model Name
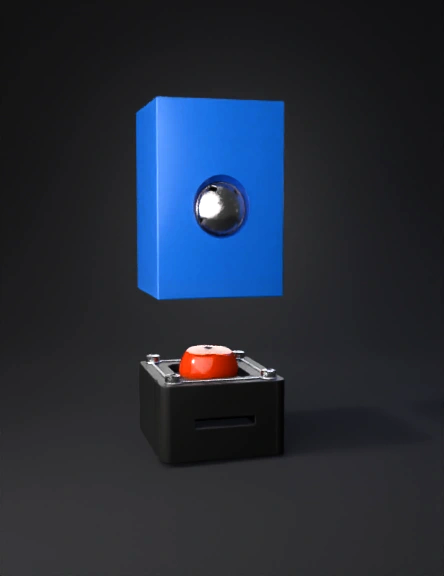
blue electronics enclosure 3d model
Tags
cubic
props
props realistic
props rendering
props rendering realistic
realistic
rendering
rendering realistic
Prompt
PART 1 — Prepare Blender Open Blender You see a default cube, camera, and light. Delete the default cube Press A → selects everything. Press X → Delete → confirm. Result: Empty grid floor. Set measurement units Right side panel → Scene Properties (cone + sphere icon). Units → Metric Length → Millimeters Result: Measurements now match real electronics sizes. PART 2 — Create the Main Electronics Box Press Shift + A → Mesh → Cube Press N → Item → Dimensions X = 120 mm (length) Y = 45 mm (width) Z = 20 mm (height) Result: Solid rectangular box, like a small electronics case. PART 3 — Hollow the Box Select the box → Tab (Edit Mode) Switch to Face Select (square icon) → select top face Press I → type 2 → Enter (Inset) Creates 2 mm wall thickness Press E → Z → type -16 → Enter (Extrude downward) Hollow space inside, 2 mm walls Result: Box is now hollow, like a real electronics enclosure. Tip: Press Z → Wireframe to see inside. PART 4 — Divide Internal Sections Press Ctrl + R → hover along long side (X-axis) → scroll mouse once → 2 cuts appear Click → then slide to approximate positions → click again ESP32 section = 55 mm GAP section = 20 mm MOSFET + Battery section = 45 mm Result: Hollow box visually divided into 3 compartments (like a bento box). PART 5 — ESP32 Mounting Posts ESP32 size: 51 × 28 mm → 4 posts Shift + A → Mesh → Cylinder Radius = 2 mm, Height = 6 mm, Vertices = 16 Move cylinders inside ESP32 section: X (length) = 2 mm from left and right edges Y (width) = 2 mm from front and back edges Z (height) = aligned with box bottom Shift + D → duplicate to create all 4 posts Result: 4 posts form a rectangle matching ESP32 screw holes. PART 6 — MOSFET Driver Mount Repeat same as ESP32 posts, but place inside driver section: 4 cylinders near corners, 2 mm from edges, Z = bottom of box Result: Posts ready for MOSFET board. PART 7 — Battery Holder (18650 Li-ion) Shift + A → Cube X = 70 mm, Y = 20 mm, Z = 18 mm Move inside driver section, flush with box bottom Select main box → Modifier → Boolean → Difference → select battery cube → Apply Delete battery cube Result: Hollow rectangular hole for battery. PART 8 — Wire Channels Shift + A → Cylinder Radius = 2 mm, Depth = 50 mm Rotate: R → Y → 90° Move into box near sides → path for wires Boolean Difference → subtract cylinder from box Result: Small wire tunnels inside box. PART 9 — Stretchable/Bendable Arms Shift + A → Cube X = 90 mm, Y = 8 mm, Z = 4 mm Tab → Edit Mode → Press O (proportional editing) Select middle vertices → G → Z → move slightly upward Result: Slightly curved arm for natural bend over headphone Shift + D → duplicate for other side Material tip: Print arms in TPU for flexibility. PART 10 — Motor Holders Shift + A → Cylinder Radius = 8 mm, Height = 5 mm Move to end of each arm Optional: carve small cavity for coin vibration motor using Boolean Result: Motors have a platform on arm ends. PART 11 — Soft Cheek Pads Shift + A → UV Sphere Scale slightly → flatten Place over motor holder Result: Soft pad for comfortable cheek contact. Duplicate for other side. PART 12 — Headphone Mount Shift + A → Cube X = 30 mm, Y = 10 mm, Z = 6 mm Move under main box Boolean Difference → cut U-shaped slot to clip onto headphone band Result: Electronics box can slide onto headphone band. PART 13 — Electronics Lid Select top face → Shift + D → P → Selection Move slightly upward → this becomes removable lid Add 4 small screw holes Result: Lid can be removed to access electronics. PART 14 — Smooth Edges Select object → Modifier → Bevel → 0.8 mm Right click → Shade Smooth Result: Rounded, professional edges — comfortable for wearing.this is instruction for blender app. analyze it and make the model for me
Detailed Info
Related Models
Enter invite code
Enter invite code to get credits!